ca::ctrlaltdel:/sbin/shutdown -t3 -r now
Otherwise, if you are using CentOS 7 use the following command:
$ ln -s /dev/null /etc/systemd/system/ctrl-alt-del.target
Secure Mounted Filesystems
Each of your Linux file systems is mounted so you can the files inside it. You can mount your file systems using different options.
You can type these options in the /etc/fstab file.
LABEL=/ / ext4 defaults 1 1
The first column is just a label for your device.
The second column is the location of the mounted filesystem.
The third column is the file system type like ext4.
The fourth column contains security options which are the most important one for us.
The last two columns control the options for the dump and fsck commands.
There are many different ways to control how file systems are mounted and the following list shows some of them:
auto It will be mounted automatically at boot time.
noauto It will not be mounted automatically at boot time.
exec You can execute binaries on this file system.
noexec You can’t execute binaries on this file system.
suid setuid bits are permitted.
nosuid No setuid bits.
user non-root users can mount this device.
nouser No user except root can mount this device.
owner Only owner can mount the device.
ro Mount device read-only.
rw Mount device read-write.
defaults Make your file system’s options: rw, suid, exec, auto, nouser.
The exec and noexec options enable you to control whether binary execution is allowed or not.
You can mount /home securely with noexec like this:
/dev/hda1 /home ext4 noexec 0 2
Keep in mind that this line will prevent the execution of binaries on /home, so if you have any executables, you should take care of that.
You can mount /tmp with noexec option as a step of hardening, but keep in mind that some programs might not work properly because they use /tmp to execute. So you can test your software with this mount option, if it goes well then it’s OK.
If you have binaries that have the setuid and setgid bits, and you set the nosuid option, the setuid and setgid bits will be neglected.
Only root users can mount file systems, but if you want other users to do that, you can set the user, nouser options. If you set the user option, then any user can mount or unmount file systems.
Any user other than root shouldn’t be allowed to mount file systems.
By setting ro and rw options, you can set your filesystem as read-only or writable.
You can mount any file system as read-only like this:
/dev/hda2 /usr ext4 ro,nodev 0 2
You can mount /boot as read-only using the same way, but keep in mind that if any kernel update arrives, you have to remount it as rw to apply the update like this:
$ mount -o remount,rw /boot
You know mount options and you should be wise enough to take the decision about which directory needs which option to mount with.
Protect /etc/services File
The /etc/services file translates service names to port numbers.
This file is writable by root only, but you may make a mistake without intention.
Well, you can use the immutable attribute to avoid any mistakes.
Also, that prevents accidental deleting or overwriting of such a vital file.
$ chattr +i /etc/services
Remove Unused Accounts
These vendor accounts are preinstalled on your system for some Linux system activity.
If you don’t need those accounts, it’s preferred to remove them using the userdel command, and these are some of the unused users for me.
$ userdel adm
$ userdel games
$ userdel halt
$ userdel lp
$ userdel shutdown
Also, you will need to remove the groups belongs to those accounts if exist using groupdel command
If you check /etc/passwd file, you’ll see that the users are deleted.
If you run your own VPS or server you can set the immutable bit on /etc/passwd and /etc/shadow to prevent any unwanted changes.
$ chattr +i /etc/passwd
$ chattr +i /etc/shadow
If you need to add new users to the system or install a program that will add users, consider removing the immutable flag first.
Hardening Cron Scripts
Some scripts under /etc/cron.d doesn’t have the secured permissions, they are readable to normal users.
Consider fixing the permission for the scripts that are responsible for executing scheduled job on our server so root only can read it.
$ chmod 0700 /etc/cron.daily/*
Normal users don’t need to look at those scripts.
Keep in mind that if you update a program that provides a cron file on your system, consider updating the permission, or you can make a shell script that does the job for you instead.
And the same for the other cron directories like:
/etc/cron.weekly
/etc cron.monthly/
/etc cron.hourly/
Securing SUID Programs
SUID (Set User ID) is a special type of file permissions given to a file. When you want to use a tool like passwd command which writes on files belong to root such as /etc/passwd and /etc/shadow, the passwd command must have this SUID permission to enable normal users to use that command.
You may take a look at all programs that have this permission and consider removing that permission from unnecessary programs that you think that normal users won’t need it.
$ find / -type f -user root -perm -4000 -print
All these programs have SUID bit and normal users can run them as root. To remove that permission, you can use this command:
$ chmod a-s /bin/mount
Keep in mind that some programs need that permission to work so be careful when doing that.
Risky World-Writable Files and Directories
World-writable directories and files can lead to serious problems if the attacker gains access to them.
He will be allowed to modify or delete any file, and this is a serious problem.
To get all writable files in your web folder, use this command:
$ find /home/*/public_html -type f -writable -exec ls -la {} \;
And writable directories:
$ find /home/*/public_html -type d -writable -exec ls -ld {} \;
You may find writable directories and files in some locations like /var/mail which has no problem, but on web folders, you have to be careful about that much.
You can use some integrity check tool like tripwire.
This tool will scan the system for any public writable files and directors and warn you, so you can take action about them.
Risky Symlinks
Symlinks or symbolic links are useful if they used for a good purpose to simplify your work, but the attacker in some cases uses any scripting language on your server to build a symlink to travel between directories and see your files, steal passwords and gain access to all websites on the server, so it’s very important to keep any eye on that.
The following command searches for any symlink and deletes it.
$ find -L /home/*/public_html -type l –delete
You can change the path based on your server paths, you may also create a shell script to find those symlinks and send to your email so you can investigate how it was created.
#!/bin/bash
find /home/*/public_html/ -type l >> /root/symlinks
cat /root/symlinks | cut -d"/" -f3 | uniq >> /root/out
echo "Symlinks:"|mail -s "Symlinks in $(hostname)" [email protected] < /root/out > /root/symlinks > /root/out
There are many ways to stop symlink creation, if you are using PHP, you can disable some serious functions, and apply Symlinks only if owner matches for your server if you are using apache.
This trick is very useful, especially when dealing with compromised systems.
There is a lot to talk about securing PHP; maybe we should make another post about that, but let’s keep simple for now.
Securing Log Files
Your last line of defense is the log files. Log files for each running service tell you everything about that service, so you can keep track of everything happened on your system.
In worst scenarios (like gaining root access), the attacker might delete those log files and left you without any evidence of what had happened.
Consider copying your log files to a different place or schedule a regular backup of log files to somewhere else that shouldn’t be accessible to the attacker if he gains access to your system.
Securing Linux Resources
Securing Linux Resources is a must because users can jeopardize the stability of your server if they left to use server resources without limits.
You can allocate how much memory for each user, how many processes and other server resources.
Under /etc/security, there is a file called limits.conf, in this file you can specify the limits for your users like this:
* hard rss 500000
* hard nproc 50
The first line says for all users, limit the memory usage to 500 MB.
The second line says for all users, limit the number of processes to 50 processes.
All these restriction rules applied to all users expect root user.
The asterisk on both lines means all users, and some systems have users running services like www or mysql users and these service users are used by all users on the system and if we apply our restriction rules for them too, that can lead to problems.
A good solution for this problem is to add a special group and add our users to that group and apply our restriction rules to that group.
In this case, the rules will be applied for every user in this group and not to the whole users of the group.
@myusers hard rss 500000
@myusers hard nproc 50
Hardening /proc Directory
The /proc directory or as they call it (process information pseudo-file system) gives you hints about the currently running processes. Linux is installed by default to allow normal users to see that information. You can see what processes belong to root and all other user’s processes.
Before you use this trick, as you can see that normal user can see all processes even root processes:
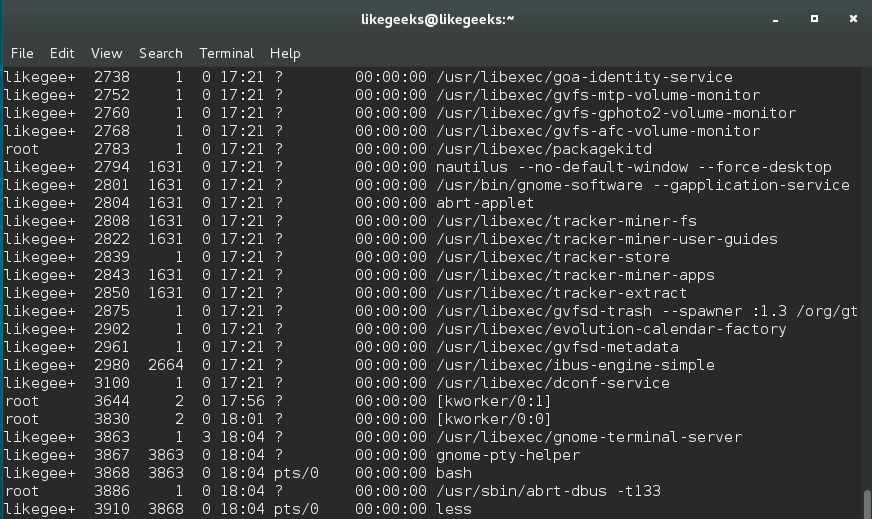
The hidepid mount option allows you to hide process IDs. It takes a value of 0, 1, 2.
$ mount -o remount,rw,hidepid=2 /proc
And you can write it to /etc/fstab to make it permanent so after reboot, the process IDs remains hidden.
proc /proc proc defaults,hidepid=2 0 0
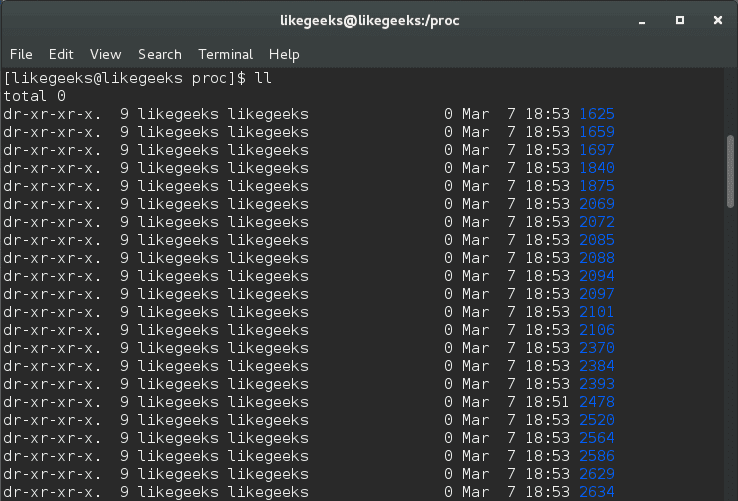
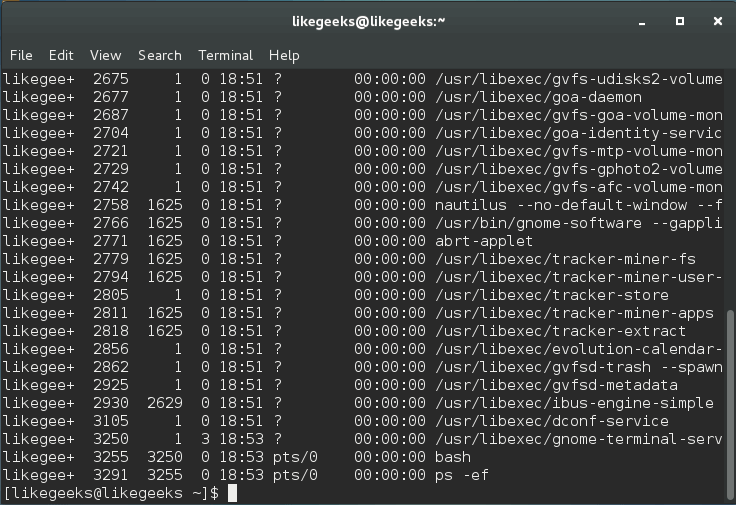
After that command, you are only allowed to see your processes. Only root users can see all processes for all users.
$ ps -ef
Another mount option is gid which allows users in a specific group to see /proc directory.
If the group you want to assign the permission to has ID of 100, you can write it like this:
$ mount -o remount,rw,gid=100 /proc
Also, you can write it in /etc/fstab file:
proc /proc proc defaults,gid=100 0 0
The last advice for you is to keep your system and software updated always, that will protect you from many threats.
I hope you find these hardening tricks useful. Keep coming back.
Thank you.
likegeeks.com
 EuroLinux şirketi tarafından üretilen ve desteklenen, çoğunlukla Red Hat Enterprise Linux kodundan oluşturulmuş bir kurumsal sınıf GNU/Linux dağıtımı olarak bilinen EuroLinux’un 8.4 sürümü duyuruldu. Red Hat Enterprise Linux, Oracle Linux ve CentOS dahil olmak üzere en popüler kurumsal GNU/Linux dağıtımlarıyla uyumluluk içeren sistemin yeni sürümünün, RHEL’in en son sürümüyle uyumlu olduğu ve birkaç önemli teknoloji özelliği eklediği ifade ediliyor. 32 bit mimari yavaş yavaş modası geçmiş bir duruma düşşse de, yazılımın büyük bir kısmının hâlâ 32 bit uygulamalar için bir çalışma zamanı yığını gerektirdiği belirtiliyor. Sistemin ücretli sürümünün ayrıca doğrudan üretici desteği, hata dosyalarına erişim, ek ara paketlere erişim (destek hizmeti gerektiriyorsa) gibi hizmetleri sağladığı söyleniyor. EuroLinux, RPM paketleri RHEL® sürümleriyle bire bir uyumlu olan piyasada bulunan tek modüler dağıtım olduğu belirtiliyor. EuroLinux 8.4 hakkında ayrıntılı bilgi edinmek için sürüm duyurusunu inceleyebilirsiniz.


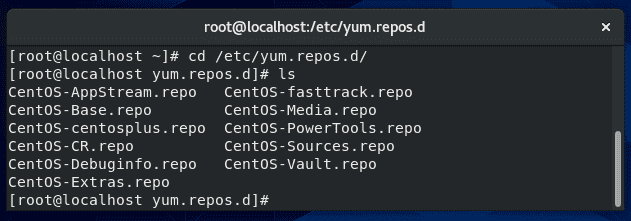
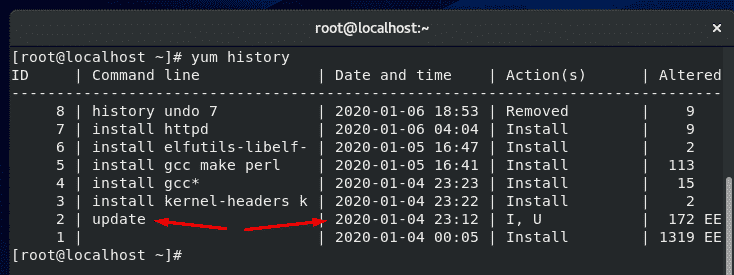
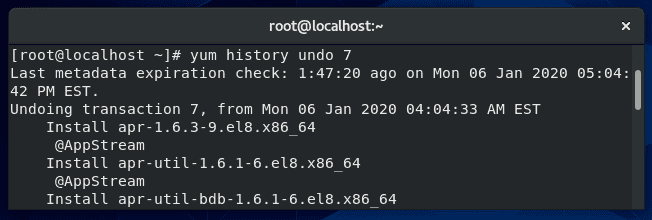
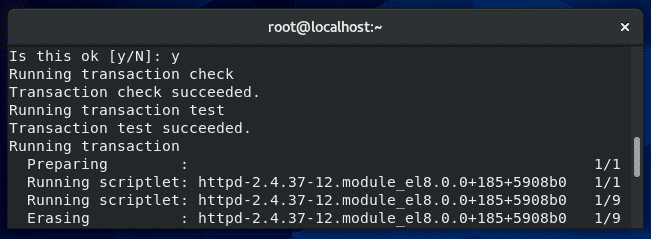
 Yum is a package manager used on Red Hat, CentOS, and other
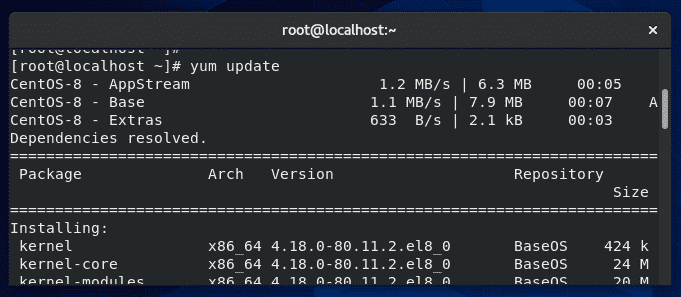
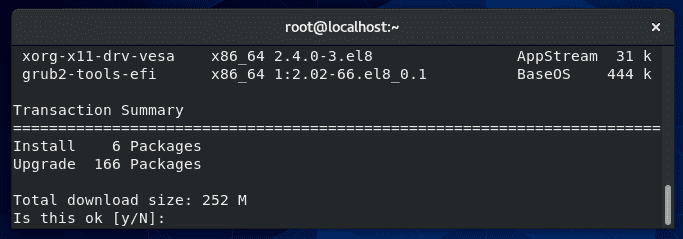
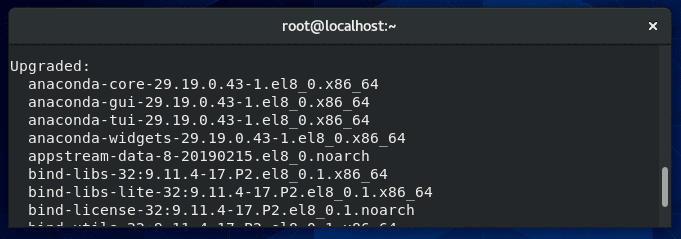




 Resmi CentOS veya
  In the previous post we talked about some

