In the previous post, we discussed how to install Linux, now we are going to talk about the most powerful features in Linux which is Linux commands or shell commands. For the whole documentation of Linux Commands, you can check Linux Documentation. The power of Linux is in the power of commands that you can use. I’m going to talk about the main Linux commands with their main parameters that you might use daily.
ls Command
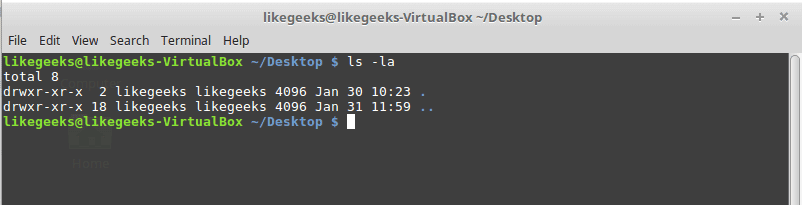
List file and folders of the current directory.
Parameters
–l
to list the content as a detailed list.
-a
Display all files (hidden + non-hidden).
You can combine parameters like this:
ls -la
cd Command
Change directory from the current directory to another one.
cd /home
Will go to home directory
cp Command
Copy the source to target.
Parameters
-i
Interactive mode means wait for the confirmation if there are files on the target will be overwritten.
-r
Recursive copy means include subdirectories if they found.
Example
cp –ir sourcedir targetdir

mv Command
Move the source to target and remove the source.
Parameters
-i
Interactive mode means wait for the confirmation if there are files on the target will be overwritten.
Example
mv –i sourceFile targetFile

rm Command
Delete file or directory and you must use –r in case you want to delete a directory.
Parameters
-r
Recursive delete means delete all subdirectories if found.
-i
Interactive means wait till confirmation

mkdir Command
Create a new directory.
mkdir newDir

rmdir Command
Delete a directory

chown Command
Change the owner of a file or directory.
Parameters:
-R
Capital R here means to change ownership of all subdirectories if found and you must use this parameter if you use the command against a directory.
chown –R root:root myDir

chmod Command
Change the permission of a file or directory.
Parameters
The mode which consists of 3 parts, owner, group, and others means what will be the permissions for these modes, and you must specify them.
The permission is one of the followings:
Read =4
Write = 2
Execute =1
Every permission represented by a number as shown and you can combine permissions.
Example
chmod 755 myfile
That means set permission for the file named myfile as follows:
owner: set it to 7 which means 4+2+1 means read+write+execute.
group: set it to 5 which means 4+1 means read+execute.
other: set it to 5 which means 4+1 means read+execute.
Note: execute for a folder permission means opening it.

locate Command
To find a file in your system, the locate command will search the system for the pattern you provide.
locate myfile
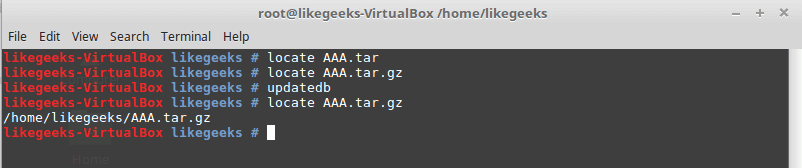
updatedb Command
updates the database used by the locate command.
date Command
Simply prints today’s date. Just type date on the shell.
tar Command
Combines several files into archive and compression if you want.
Parameters
-c
Create new archive.
-z
Compress the archive using gzip package.
-j
Compress the archive using bzip2 package.
-v
Verbose mode means show the processed files.
-f
Write the output to a file and not to screen.
-x
Unpack files from archive.
Example
tar –czvf myfiles.tar.gz myfiles

This command will pack and compress all files in folder myfiles to a compressed archive named myfiles.tar.gz.
tar-xzvf myfiels.tar.gz

This command will decompress the archive.
cat Command
Display file content to screen without limits.
Example
cat myfile.txt
less Command
Displays file content with scroll screen so you can navigate between pages using PgUp, PgDn, Home, and End.
less myfile
grep Command
Searches for a string in the specified files and displays which line contains the matched string.
Parameters
-R
Recursive search inside subdirectories if found.
-i
Insensitive search and ignore case.
-l
Display file name, not the text lines.
Example
grep –Ril mystring /home

passwd Command
Used to change your user password.

du Command
Calculates the disk usage of a file or a directory.
Parameters
-h
Display human readable form.
-s
Summarize the output total size.
Example
du –hs /home

reboot Command
Reboot the system immediately. Just type reboot.
halt Command
Shuts down the system, but make sure to close all of your files to avoid data loss.
That was just some of the main Linux commands.
Notice that, if you forget any command parameters, just type the command with – -help as a parameter and it will list the used parameters so you don’t have to remember all those parameters at the beginning.
cat --help


 İnternet üzerinde kişisel bilgileri gizleyebilme ve
 Beta sürümü
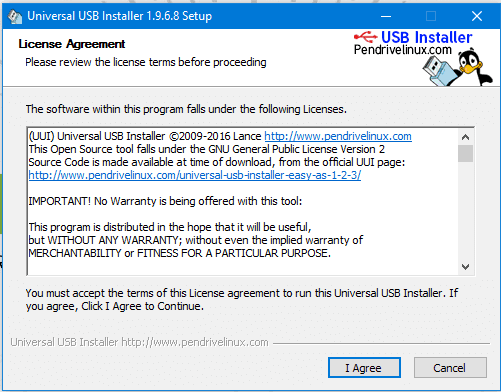
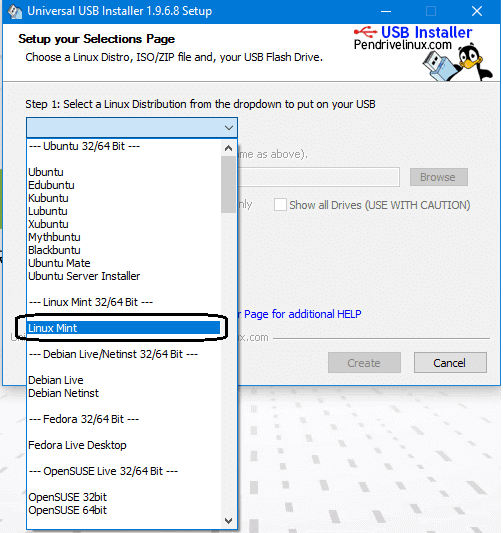
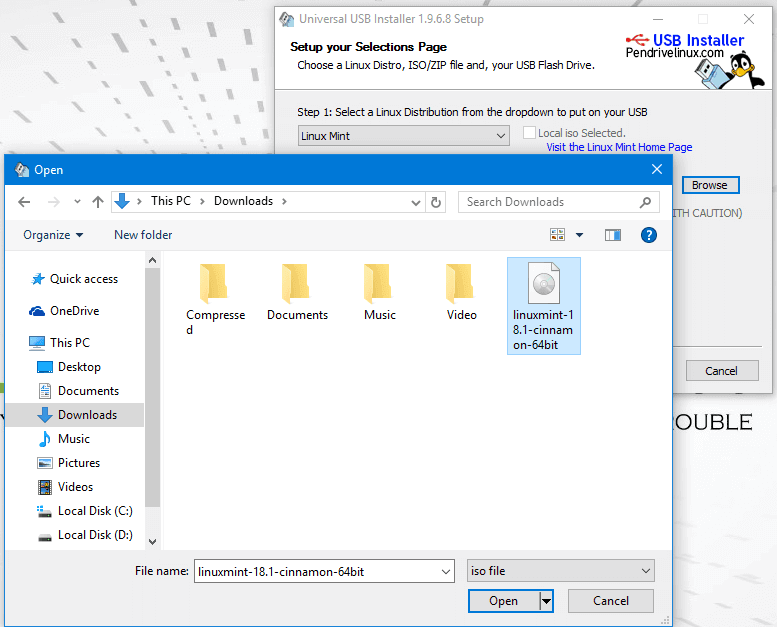
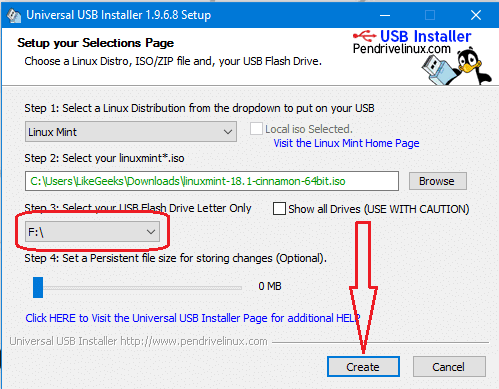
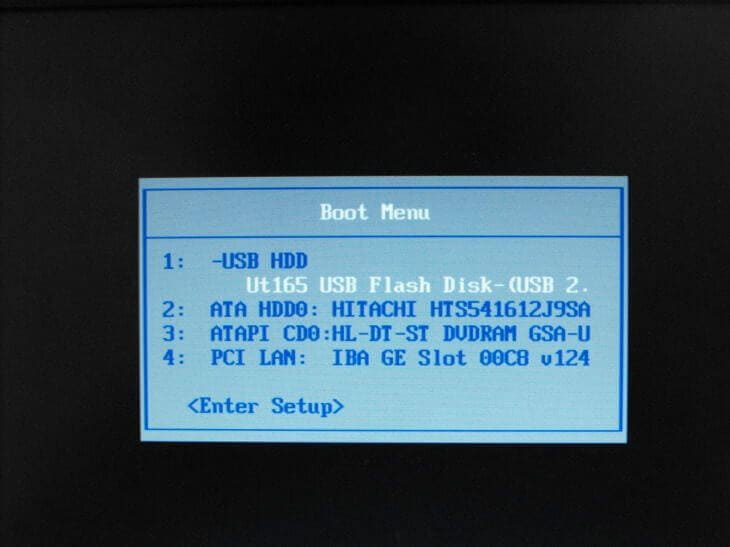
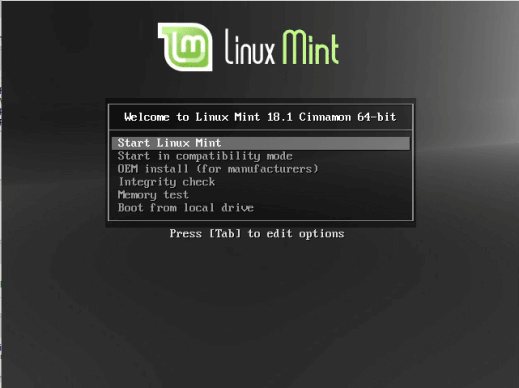
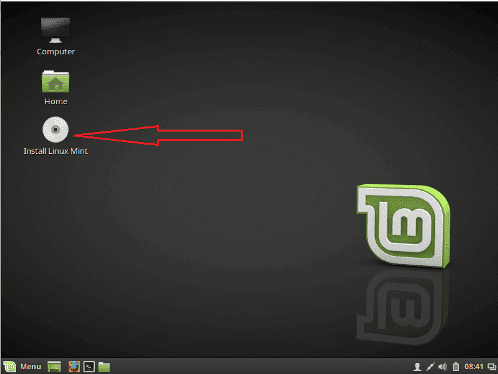
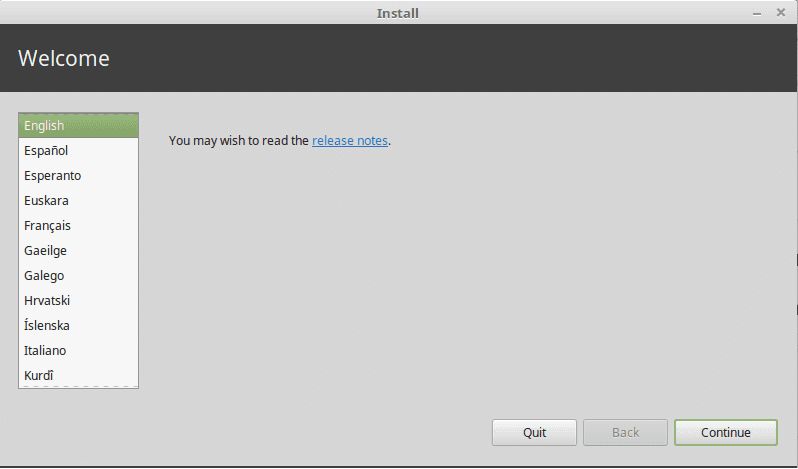
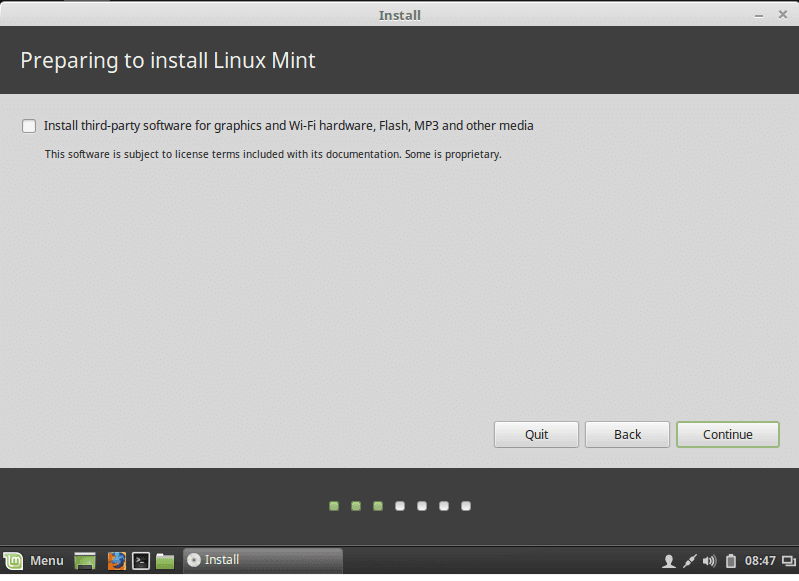
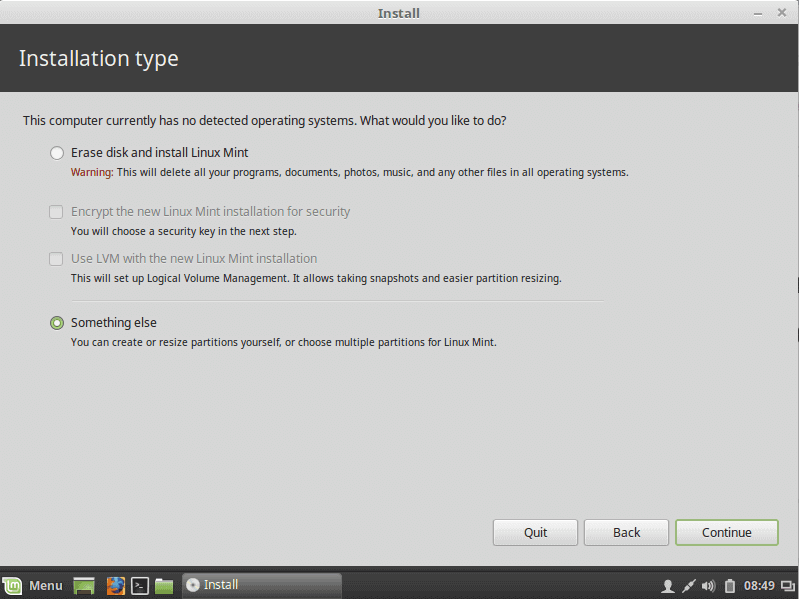
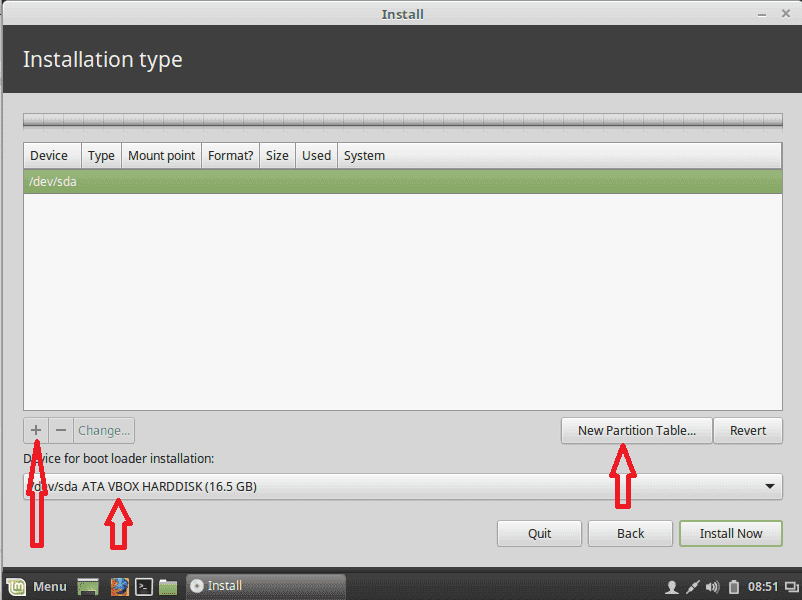
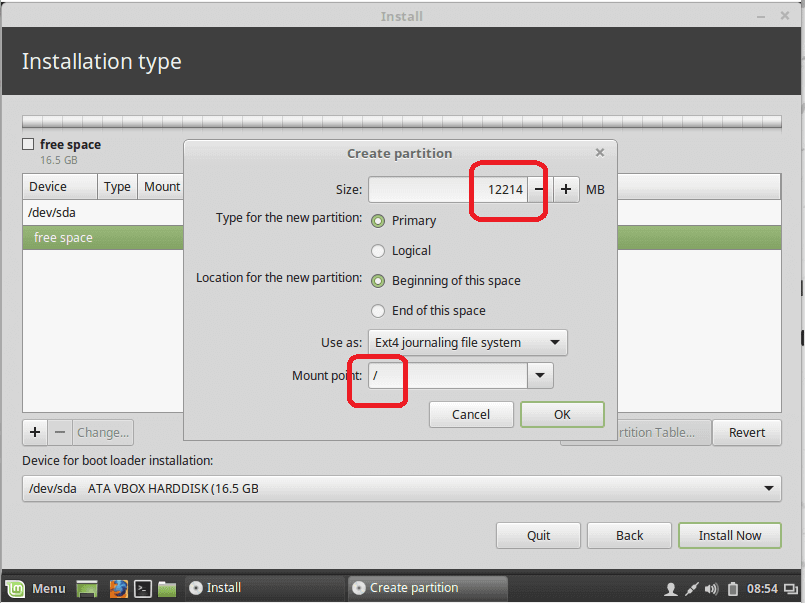
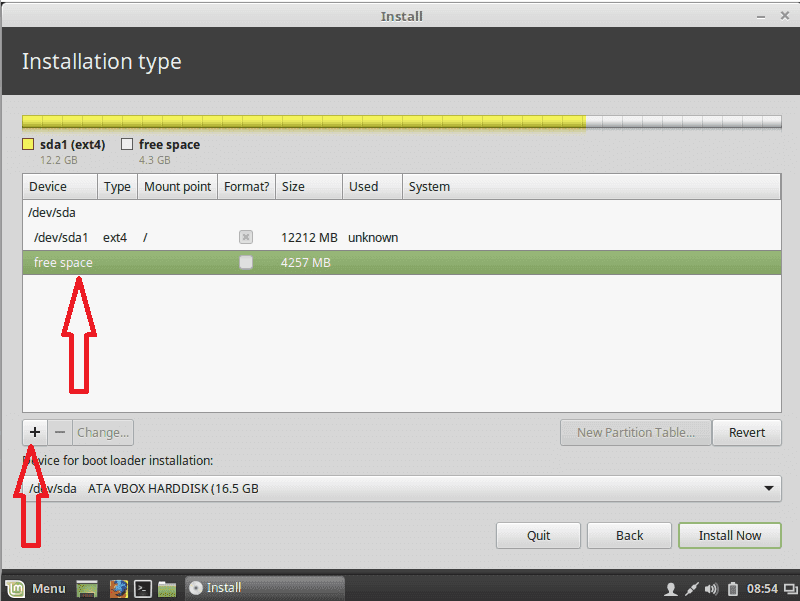
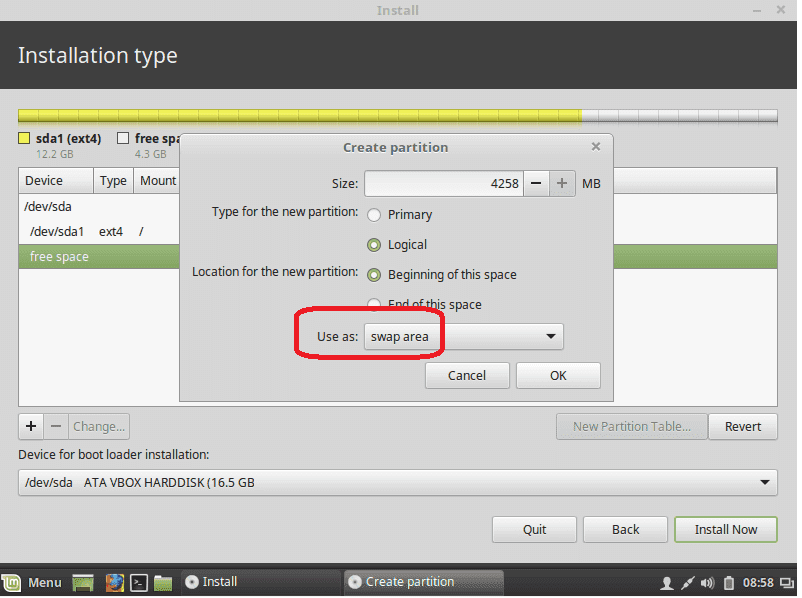
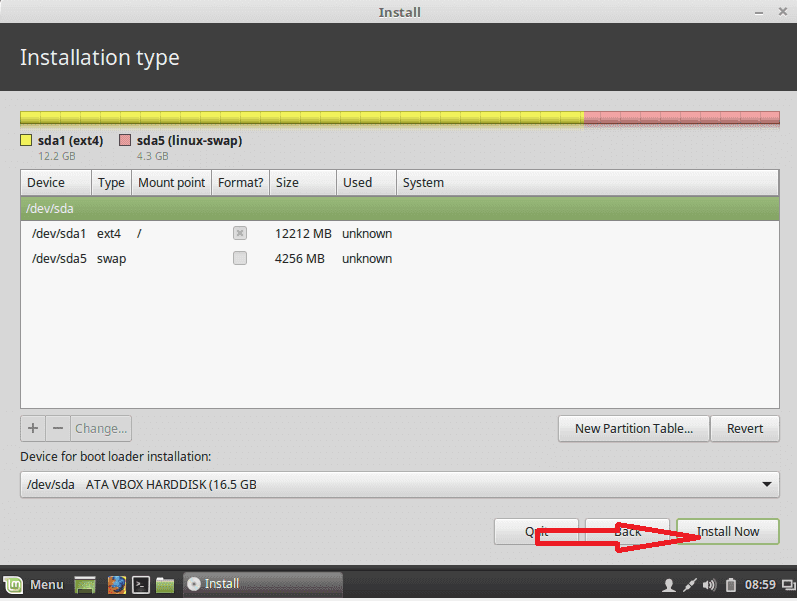
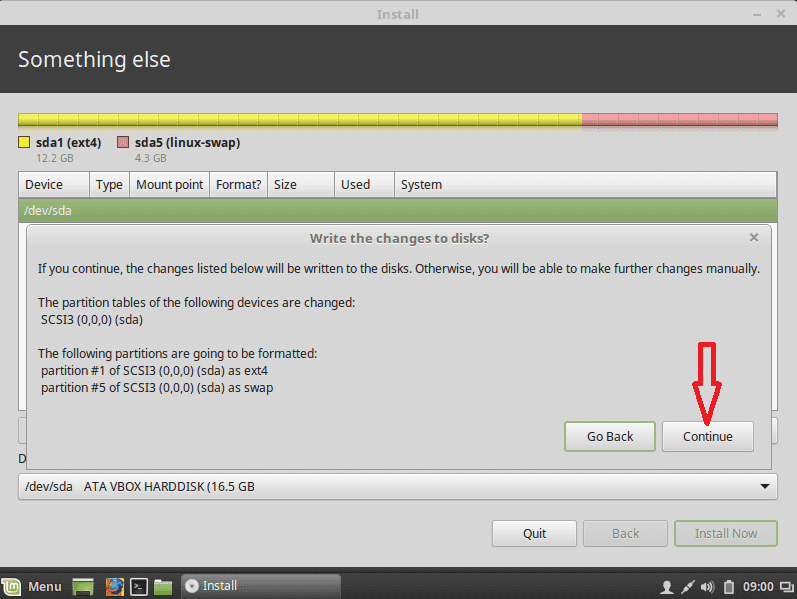
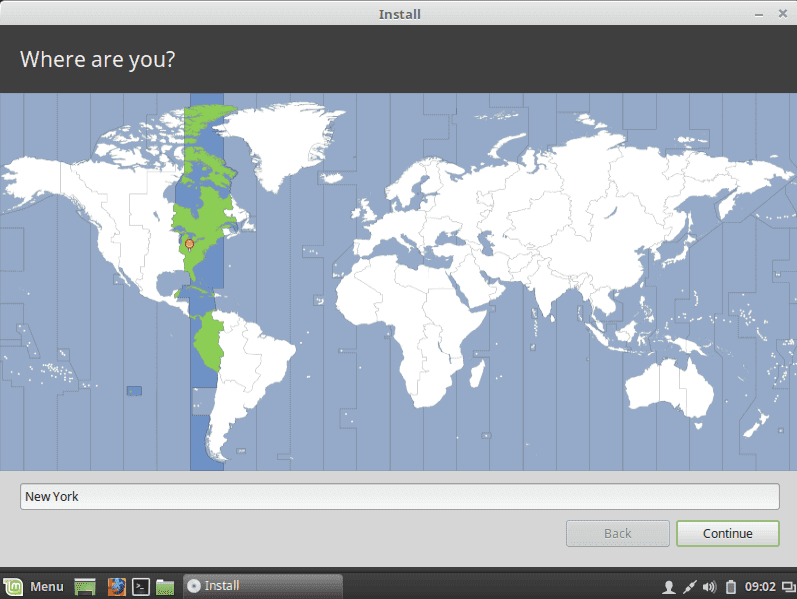
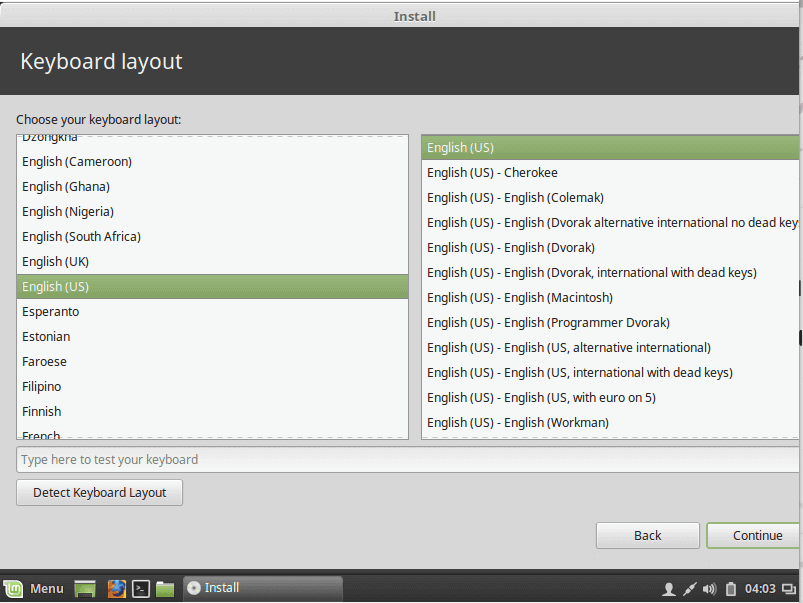
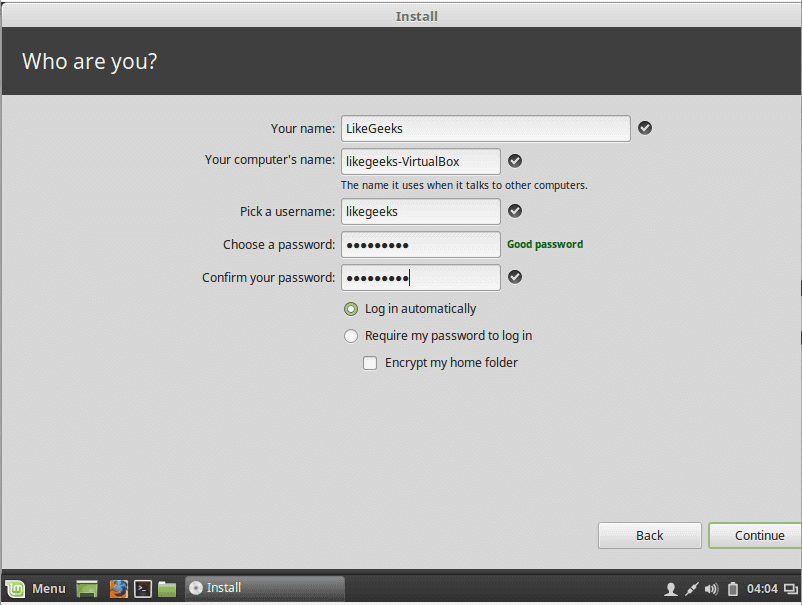
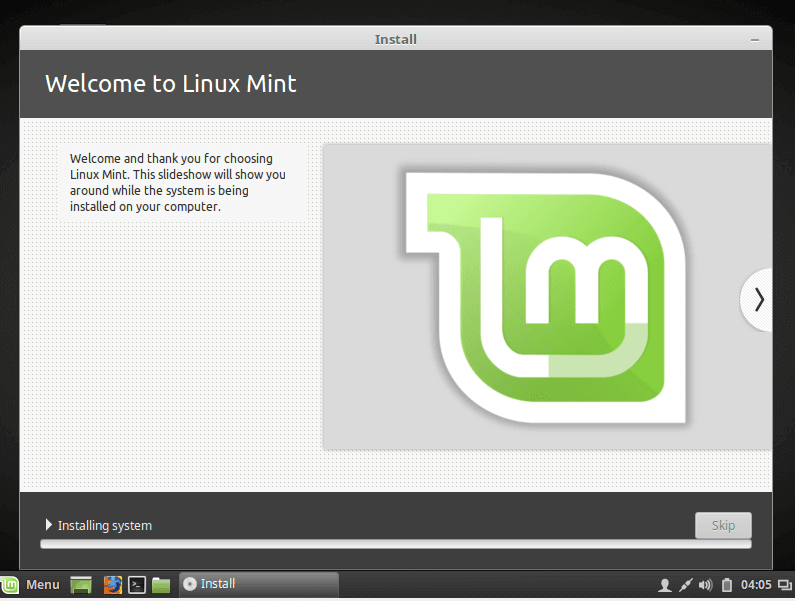
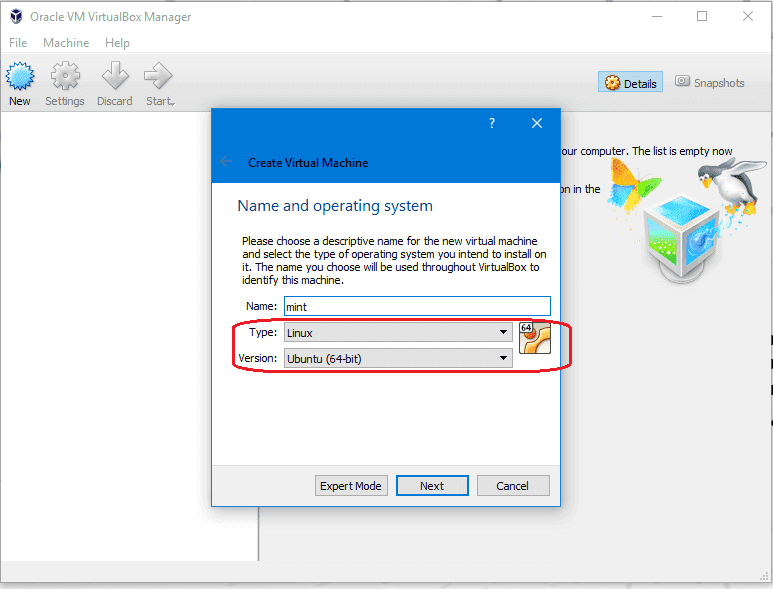
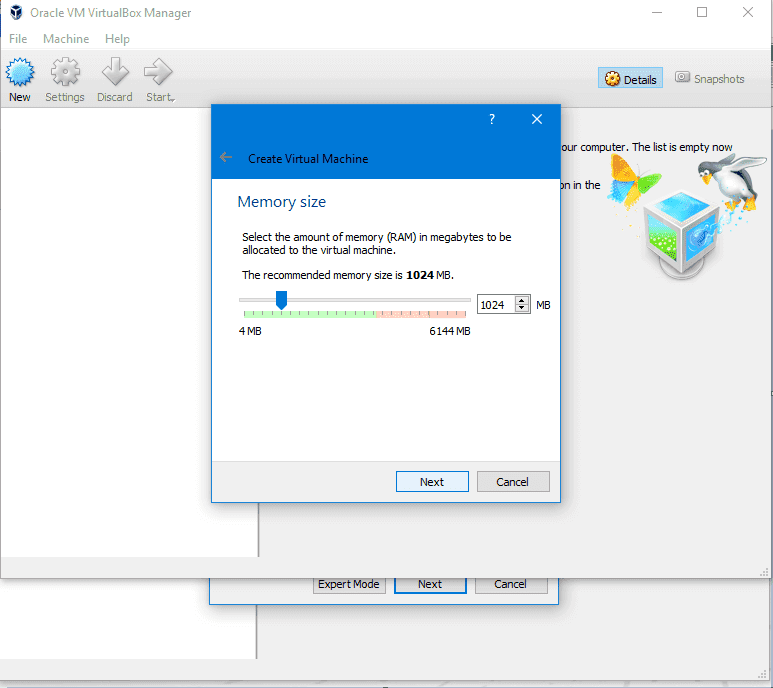
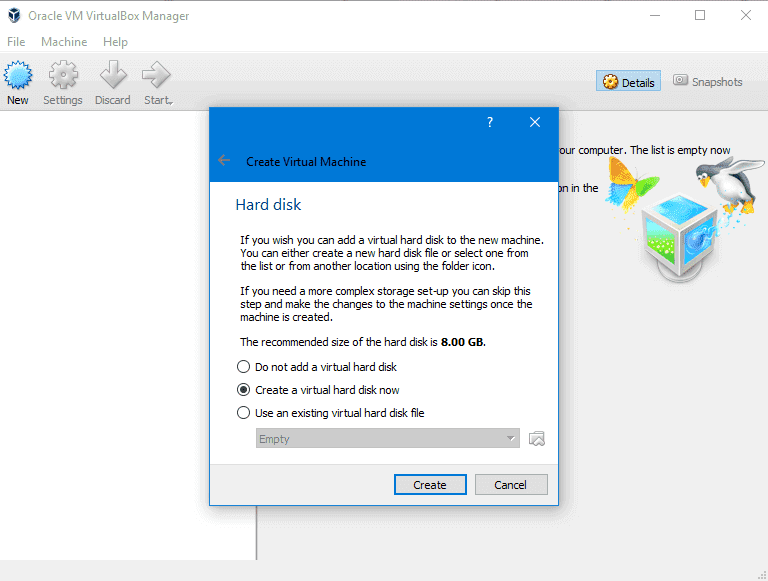
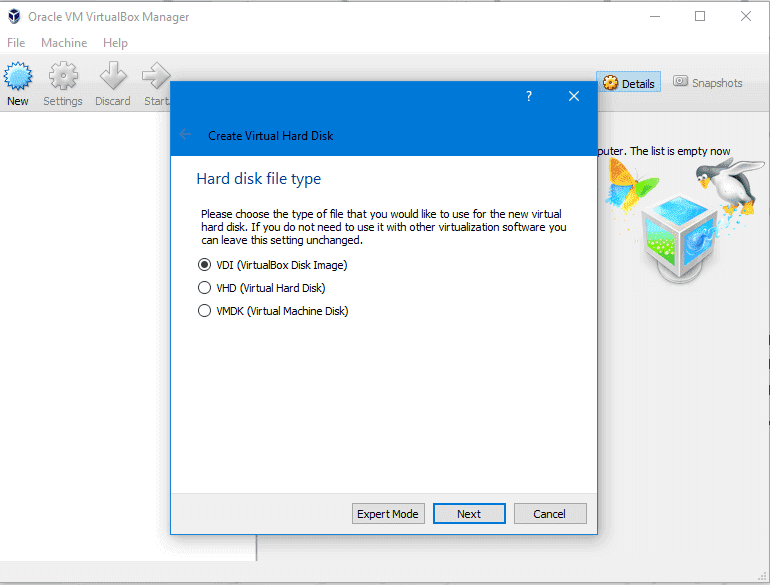
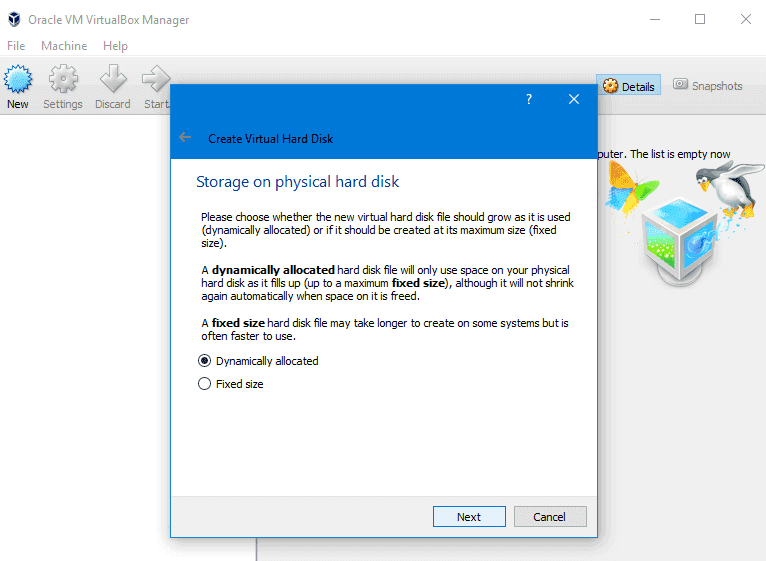
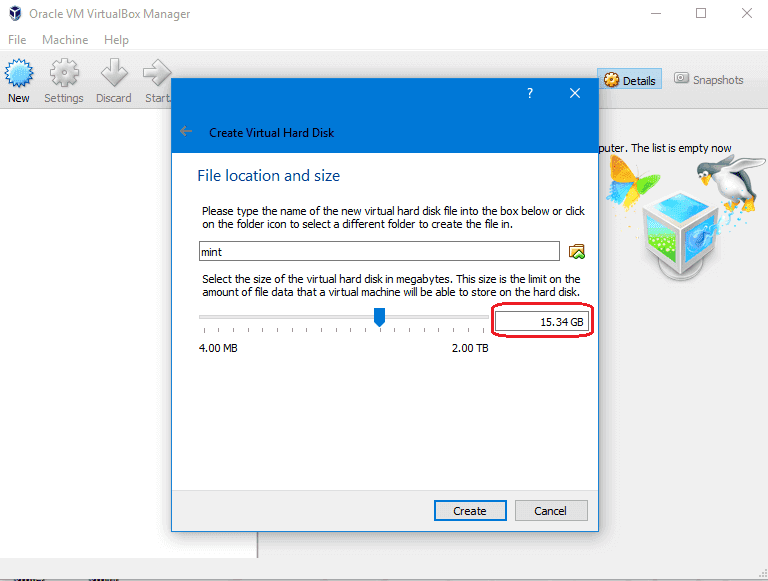
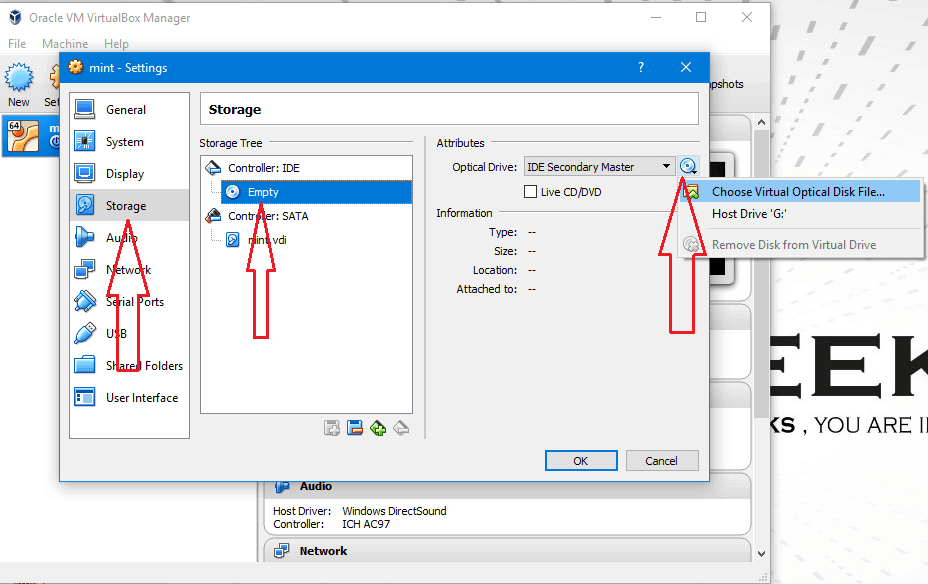
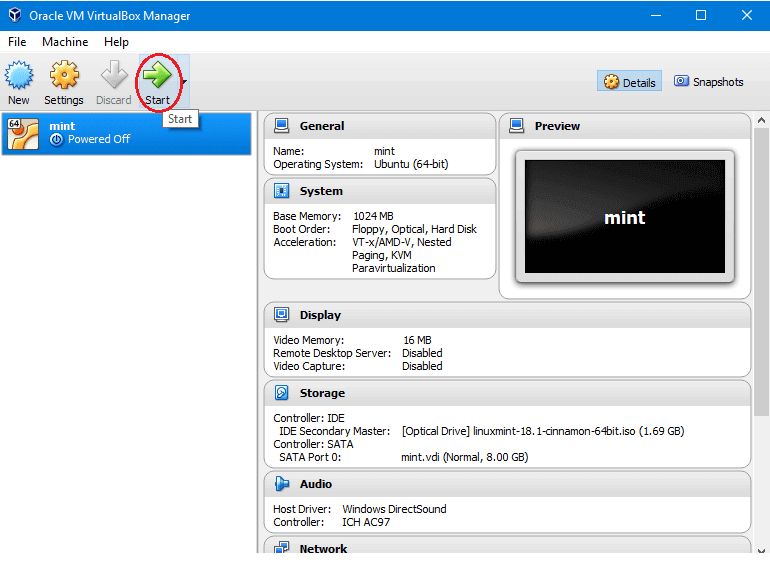
 As we’ve talked about Linux on the previous post and we have chosen the
  After you’ve chosen the